Demonstration
Let’s Organize your images
To organize your images, you to navigate to the “Organize & Create” tool in the navigation bar at the top of the page. As you collect more images and have specific purposes for your images, this organizing feature becomes more important.

A big part of organizing your images is to add the proper metadata to all the images to make them easily searchable by you and possibly others. Metadata is basically data about the image. You can add information about your images like names of people in the image or the date the image was taken. This will allow you and others to search your the image more effectively. The Batch Organize feature of this page allows you to drag images into the queue area and perform several tasks. Notice that the images stay in the bottom area as well. You are not actually moving the image out of the original data base. You are adding metadata and organizing your images into groups and sets for easier access.
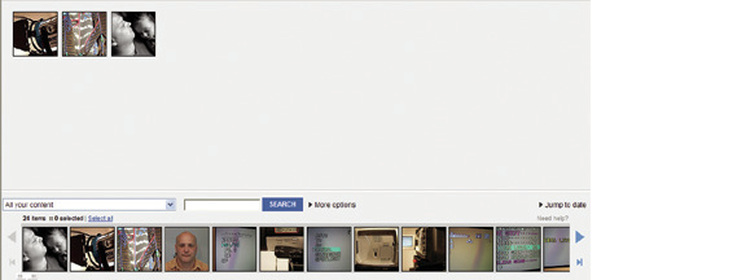
You can edit titles, tags, descriptions, and permissions.
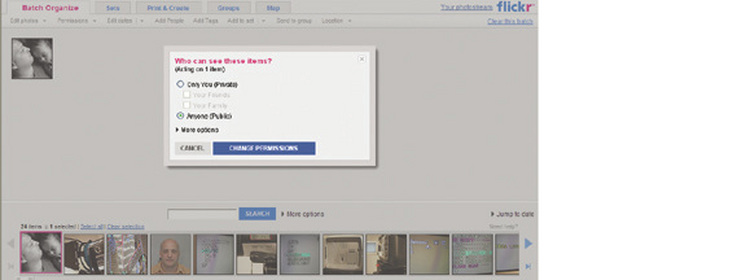
I would like to make a few comments and give direction on permissions. Select the “who can see, comment, tag” option. You can make it public to be seen by everyone. Does that mean any one can comment on, make notes on, tag, or add people to my images? That depends on what permissions you give. This is an important aspect of dealing with a social network and should be investigated more thoroughly and it not covered in this tutorial.
Click on the more options in the pop up window.
Click on the more options in the pop up window.
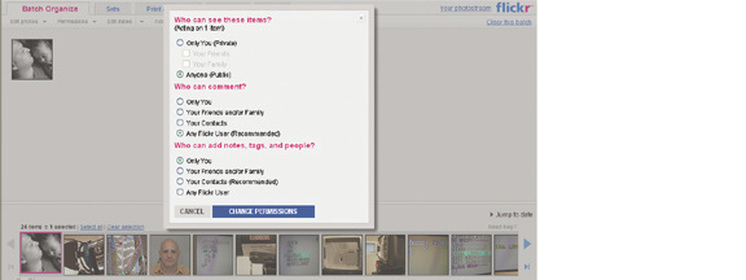
You can choose who can see; who can comment on; and who can add note, tags, and add people independently.
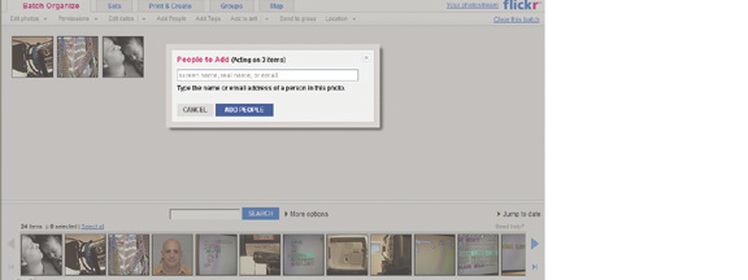
Further, you can add dates (add dates individually or the same for all images in the batch), add people (names and email associated with the people in the image). Below is an example of add people.
Further, you can add dates (add dates individually or the same for all images in the batch), add people (names and email associated with the people in the image). Below is an example of add people.
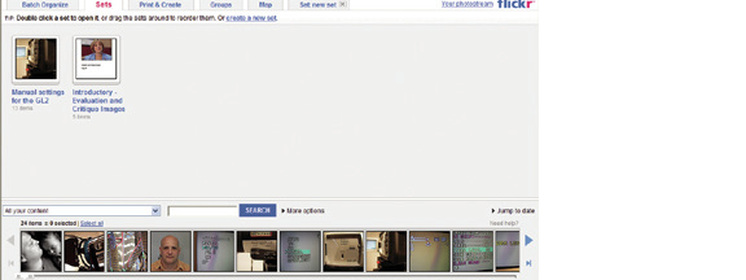
You can also organize the images into a set, group, or add to a map from this feature. This page also gives you the option to click on the set tab, group tab, and/or map tab.
Let’s click on the set tab.
Let’s click on the set tab.
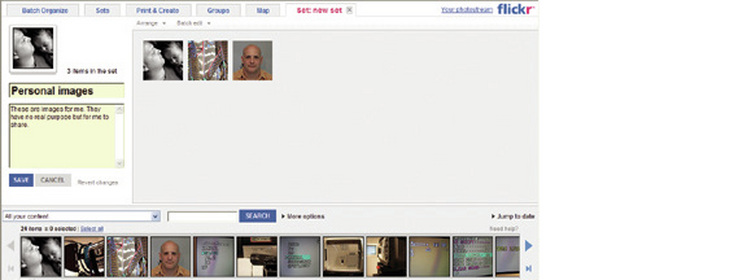
You can create a new set. Give it a title and description and drag how ever many images you need to be in that set. When you are done click Save. You have created a new set with your images in them.
I have demonstrated some of the main features for organizing your images. You can do other things like send them to printers and assign them to a group. Be sure to explore more ways that “Organize & Create” can be used.